 Design Studio
Easter Eggs – Traditional
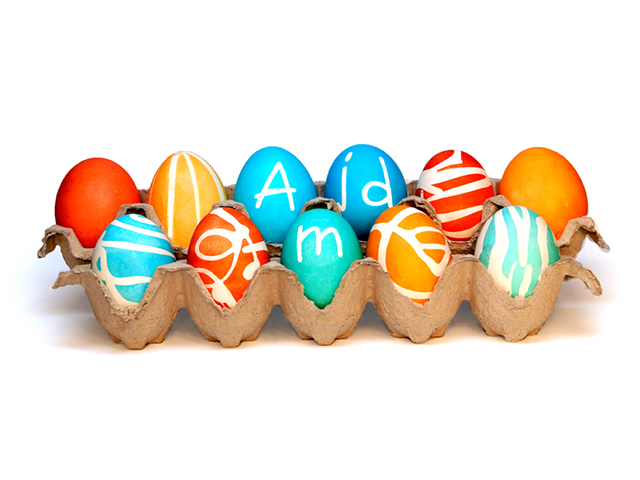
Dye your eggs with a Kool (Aid) Twist on the traditional way of decorating eggs! It’s a fun and easy way to utilize the bright colors Kool-Aid has to offer!
Tip: Mix different flavors in order to come up with new colors (for example: Lemonade and Berry Blue will give you a green).
Level of Difficulty
Easy
-
-
Step 1
-
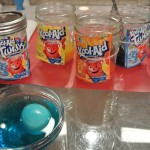
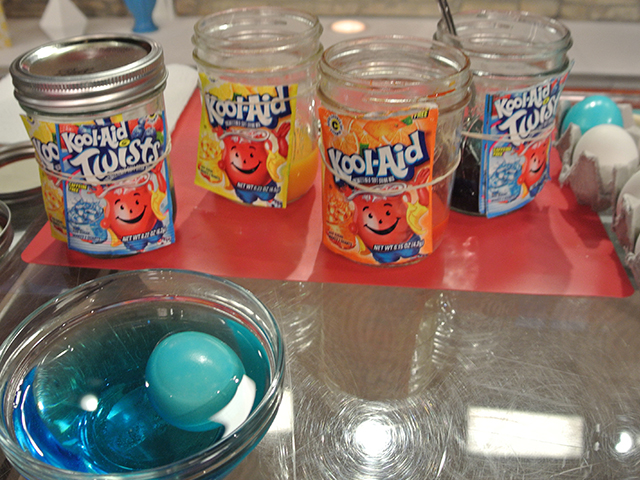
All you have to do is remember 2 and 2 – two unsweetened packets of Kool-Aid (they can be the same two flavors or two different flavors if you’re mixing colors) and 2 tablespoons of water.
Tip: I used wide-mouth Ball jars to mix my Kool-Aid because they have lids and are great for preventing spillage.
-
Step 2
-
Place your hard-boiled egg into the jar and roll it around for even coverage. For deeper colors, submerge the eggs for longer. Quickly rinse the eggs with water to let the color set and transfer the eggs to a cooling rack with paper towels underneath.
-
Step 3
-
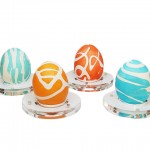
You can create different types of patterns on the eggs with rubber bands, scrapbooking stickers, and rubber cement.
Rubber Bands: Double-wrap them over the eggs to make sure the dye doesn’t seep underneath and use varying sizes for different effects.
Scrapbooking Sticker: Monogram your eggs by placing scrapbooking letter stickers on a dry egg before submerging it into the Kool-Aid.
Rubber Cement: For an abstract design, drizzle rubber cement onto an egg and let it dry completely (it will be slightly sticky/tacky). Submerge your egg into the Kool-Aid and after rinsing it, make sure the egg dries completely before peeling off the rubber cement.

Comments


My Angel passed away on Friday! This is how I feel... "like a motherless child"
This error message is only visible to WordPress admins
Error: There is no connected account for the user 228937298 Feed will not update.
-
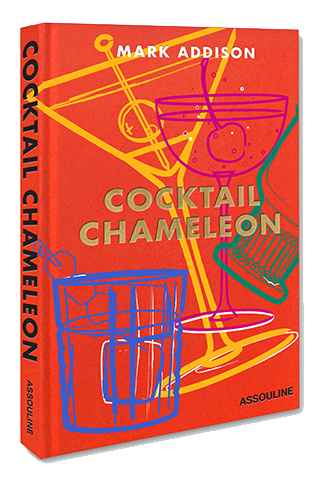
COCKTAIL CHAMELEON
Mark’s NEW cocktail book is an invitation to join him as he dresses up twelve cocktails in twelve unique variations for 144 signature takes on the classics. For a limited […]
Read More -

Calendar
The Cocktail Chameleon International Book Tour kicks off in Aug in NYC and the Hamptons and continues across the country and across The Pond through January 2018 *Signed copies of Cocktail Chameleon are only available online or at a Book Tour Event – click here for a full list of 2017 events
Read More -
